Description
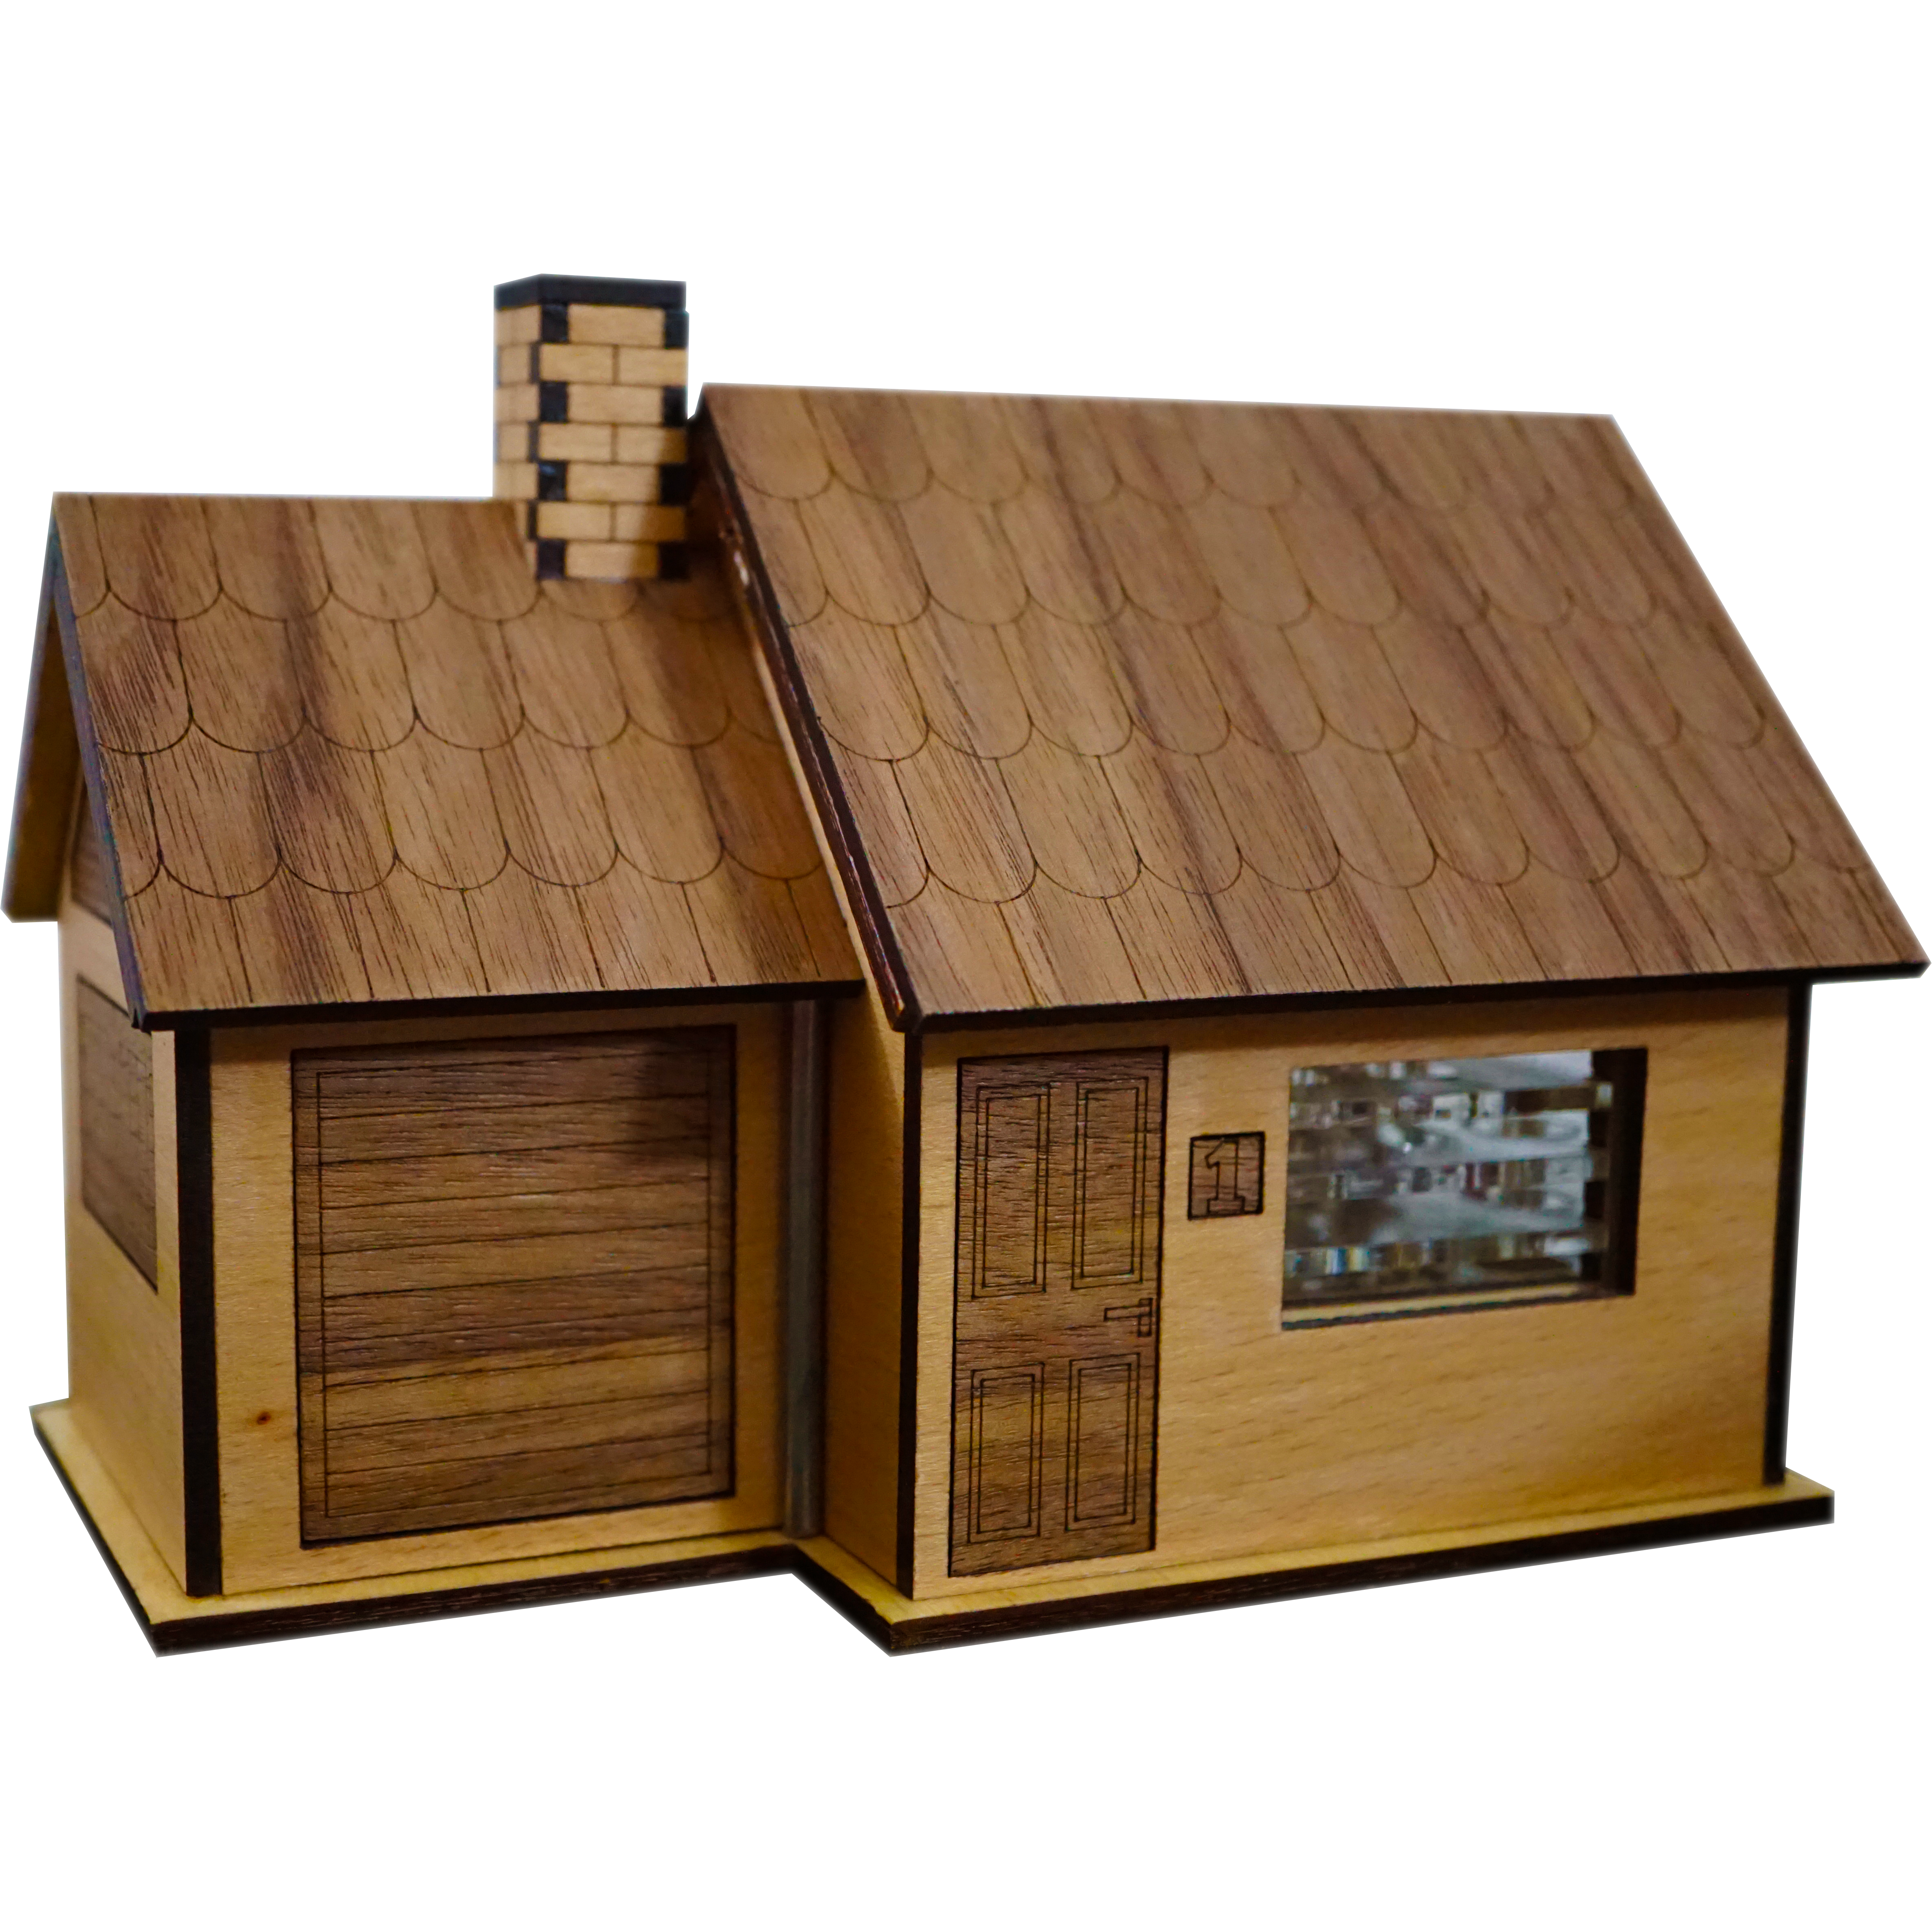
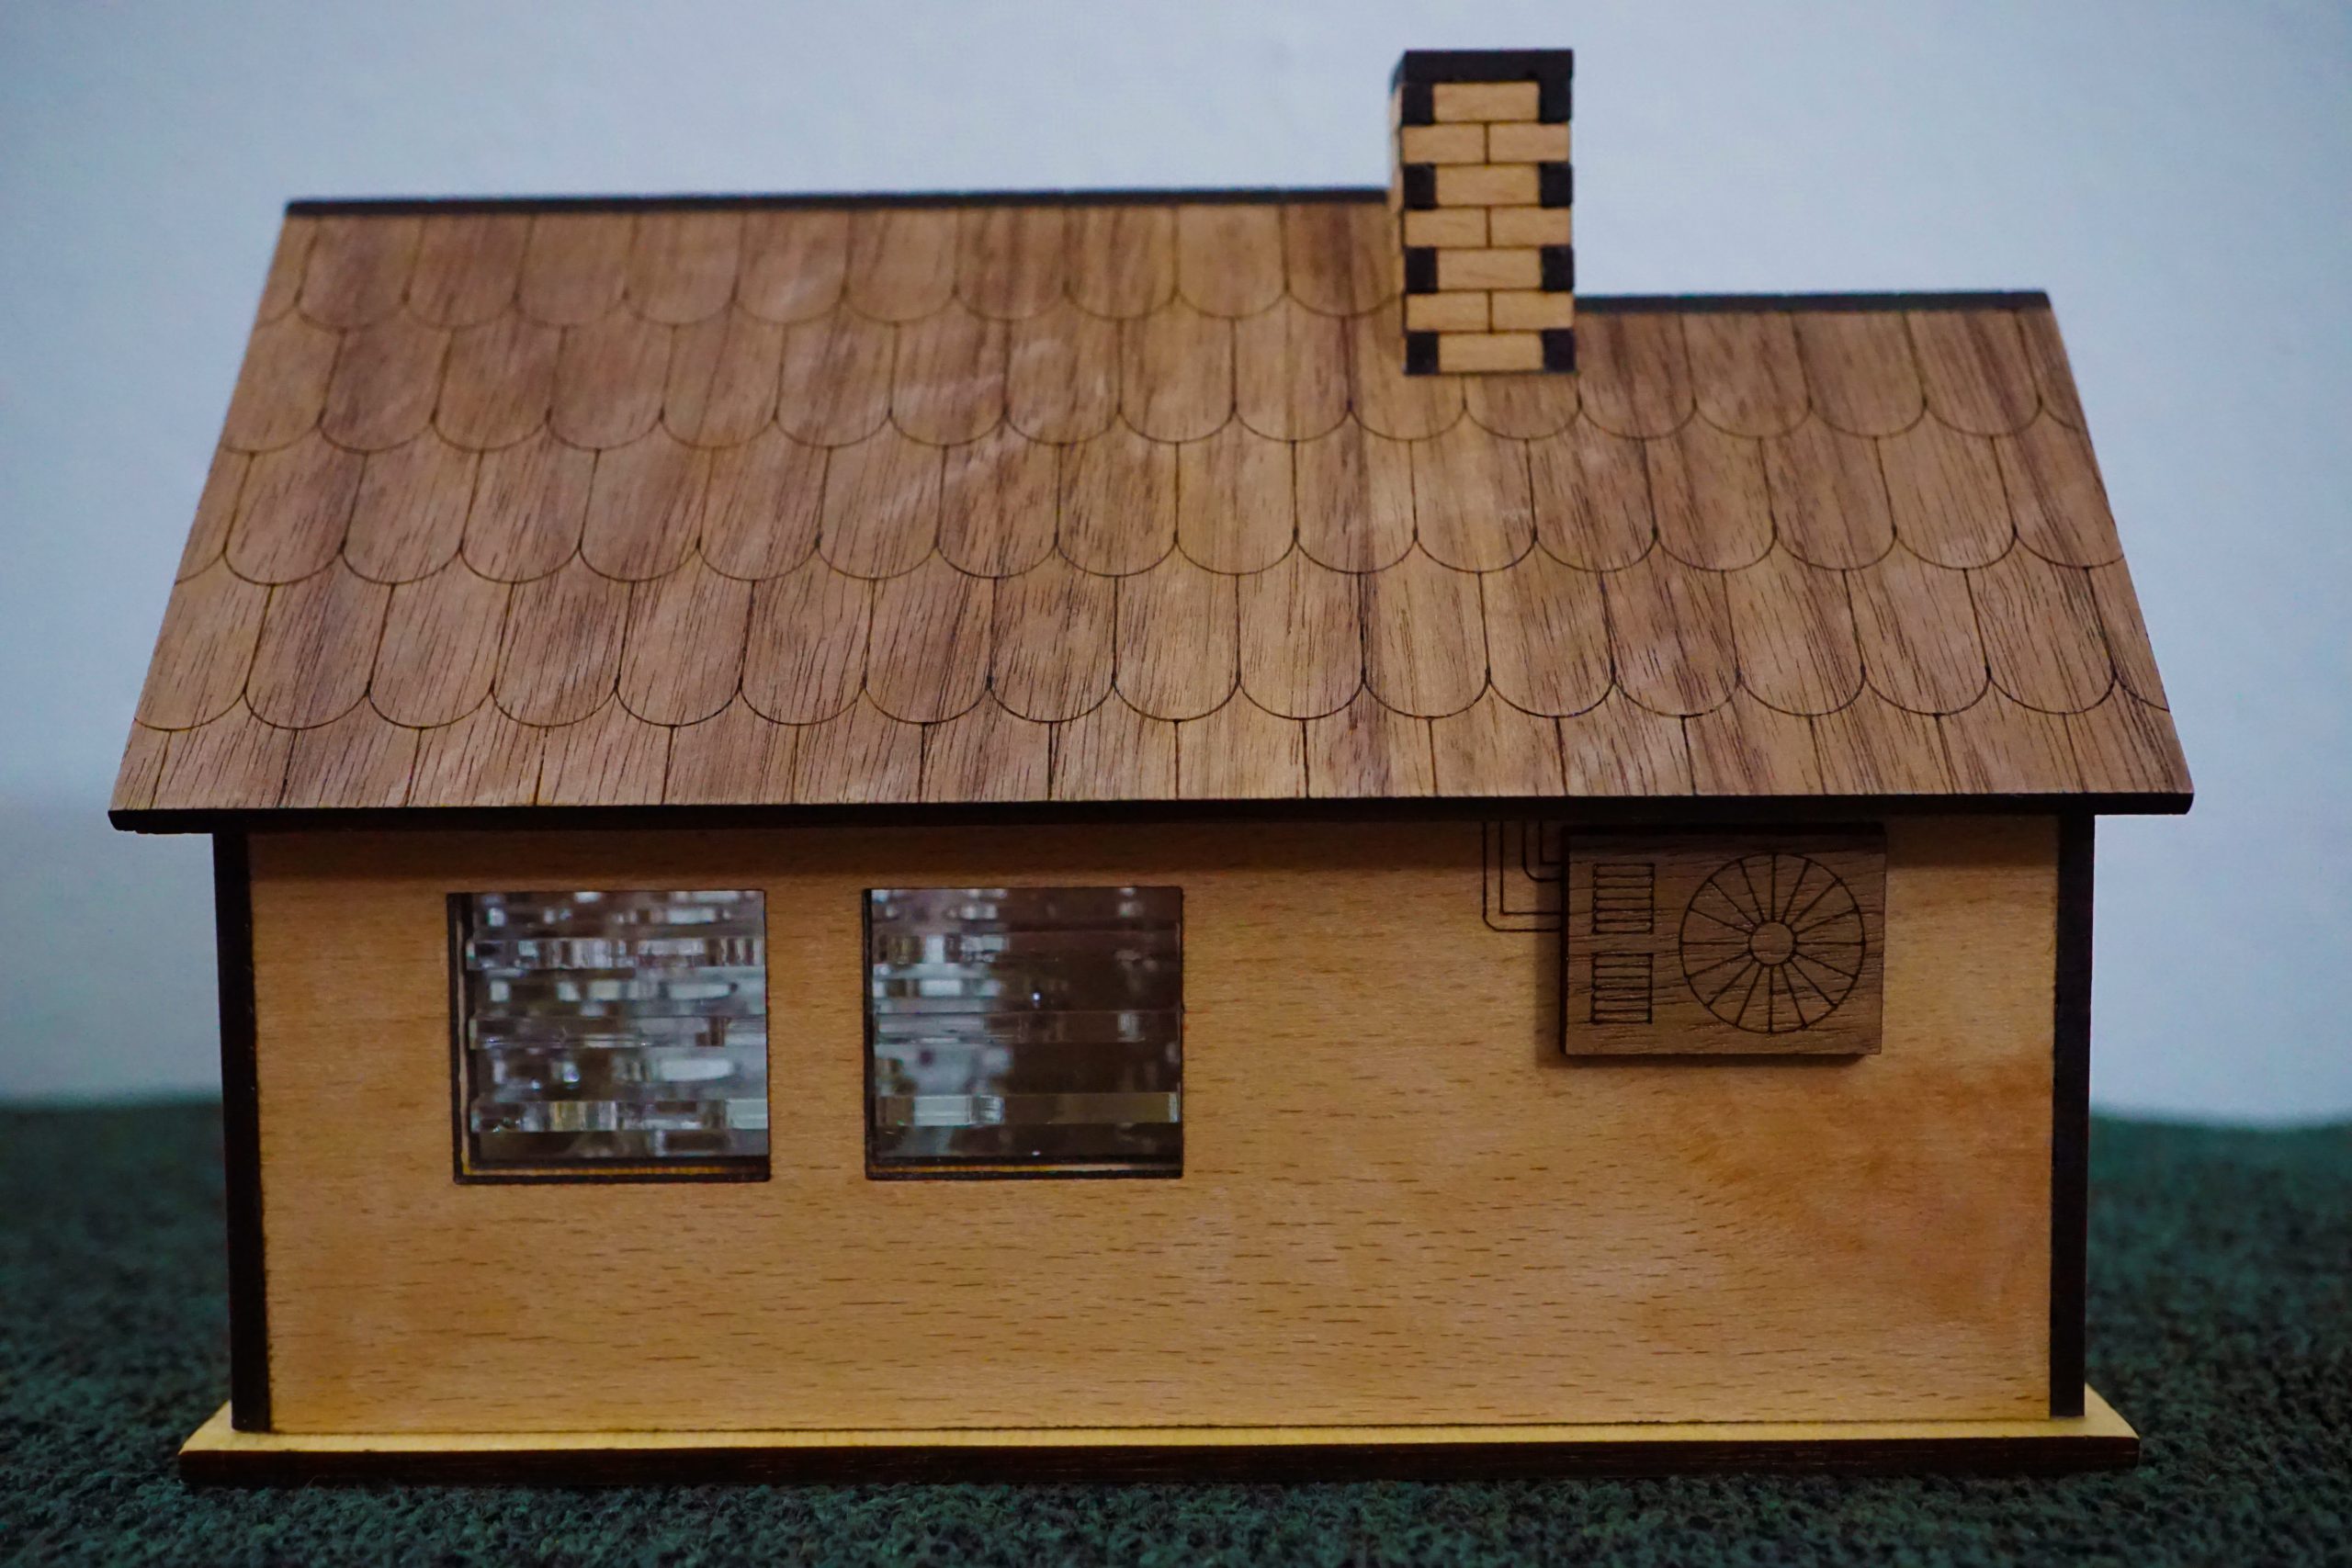
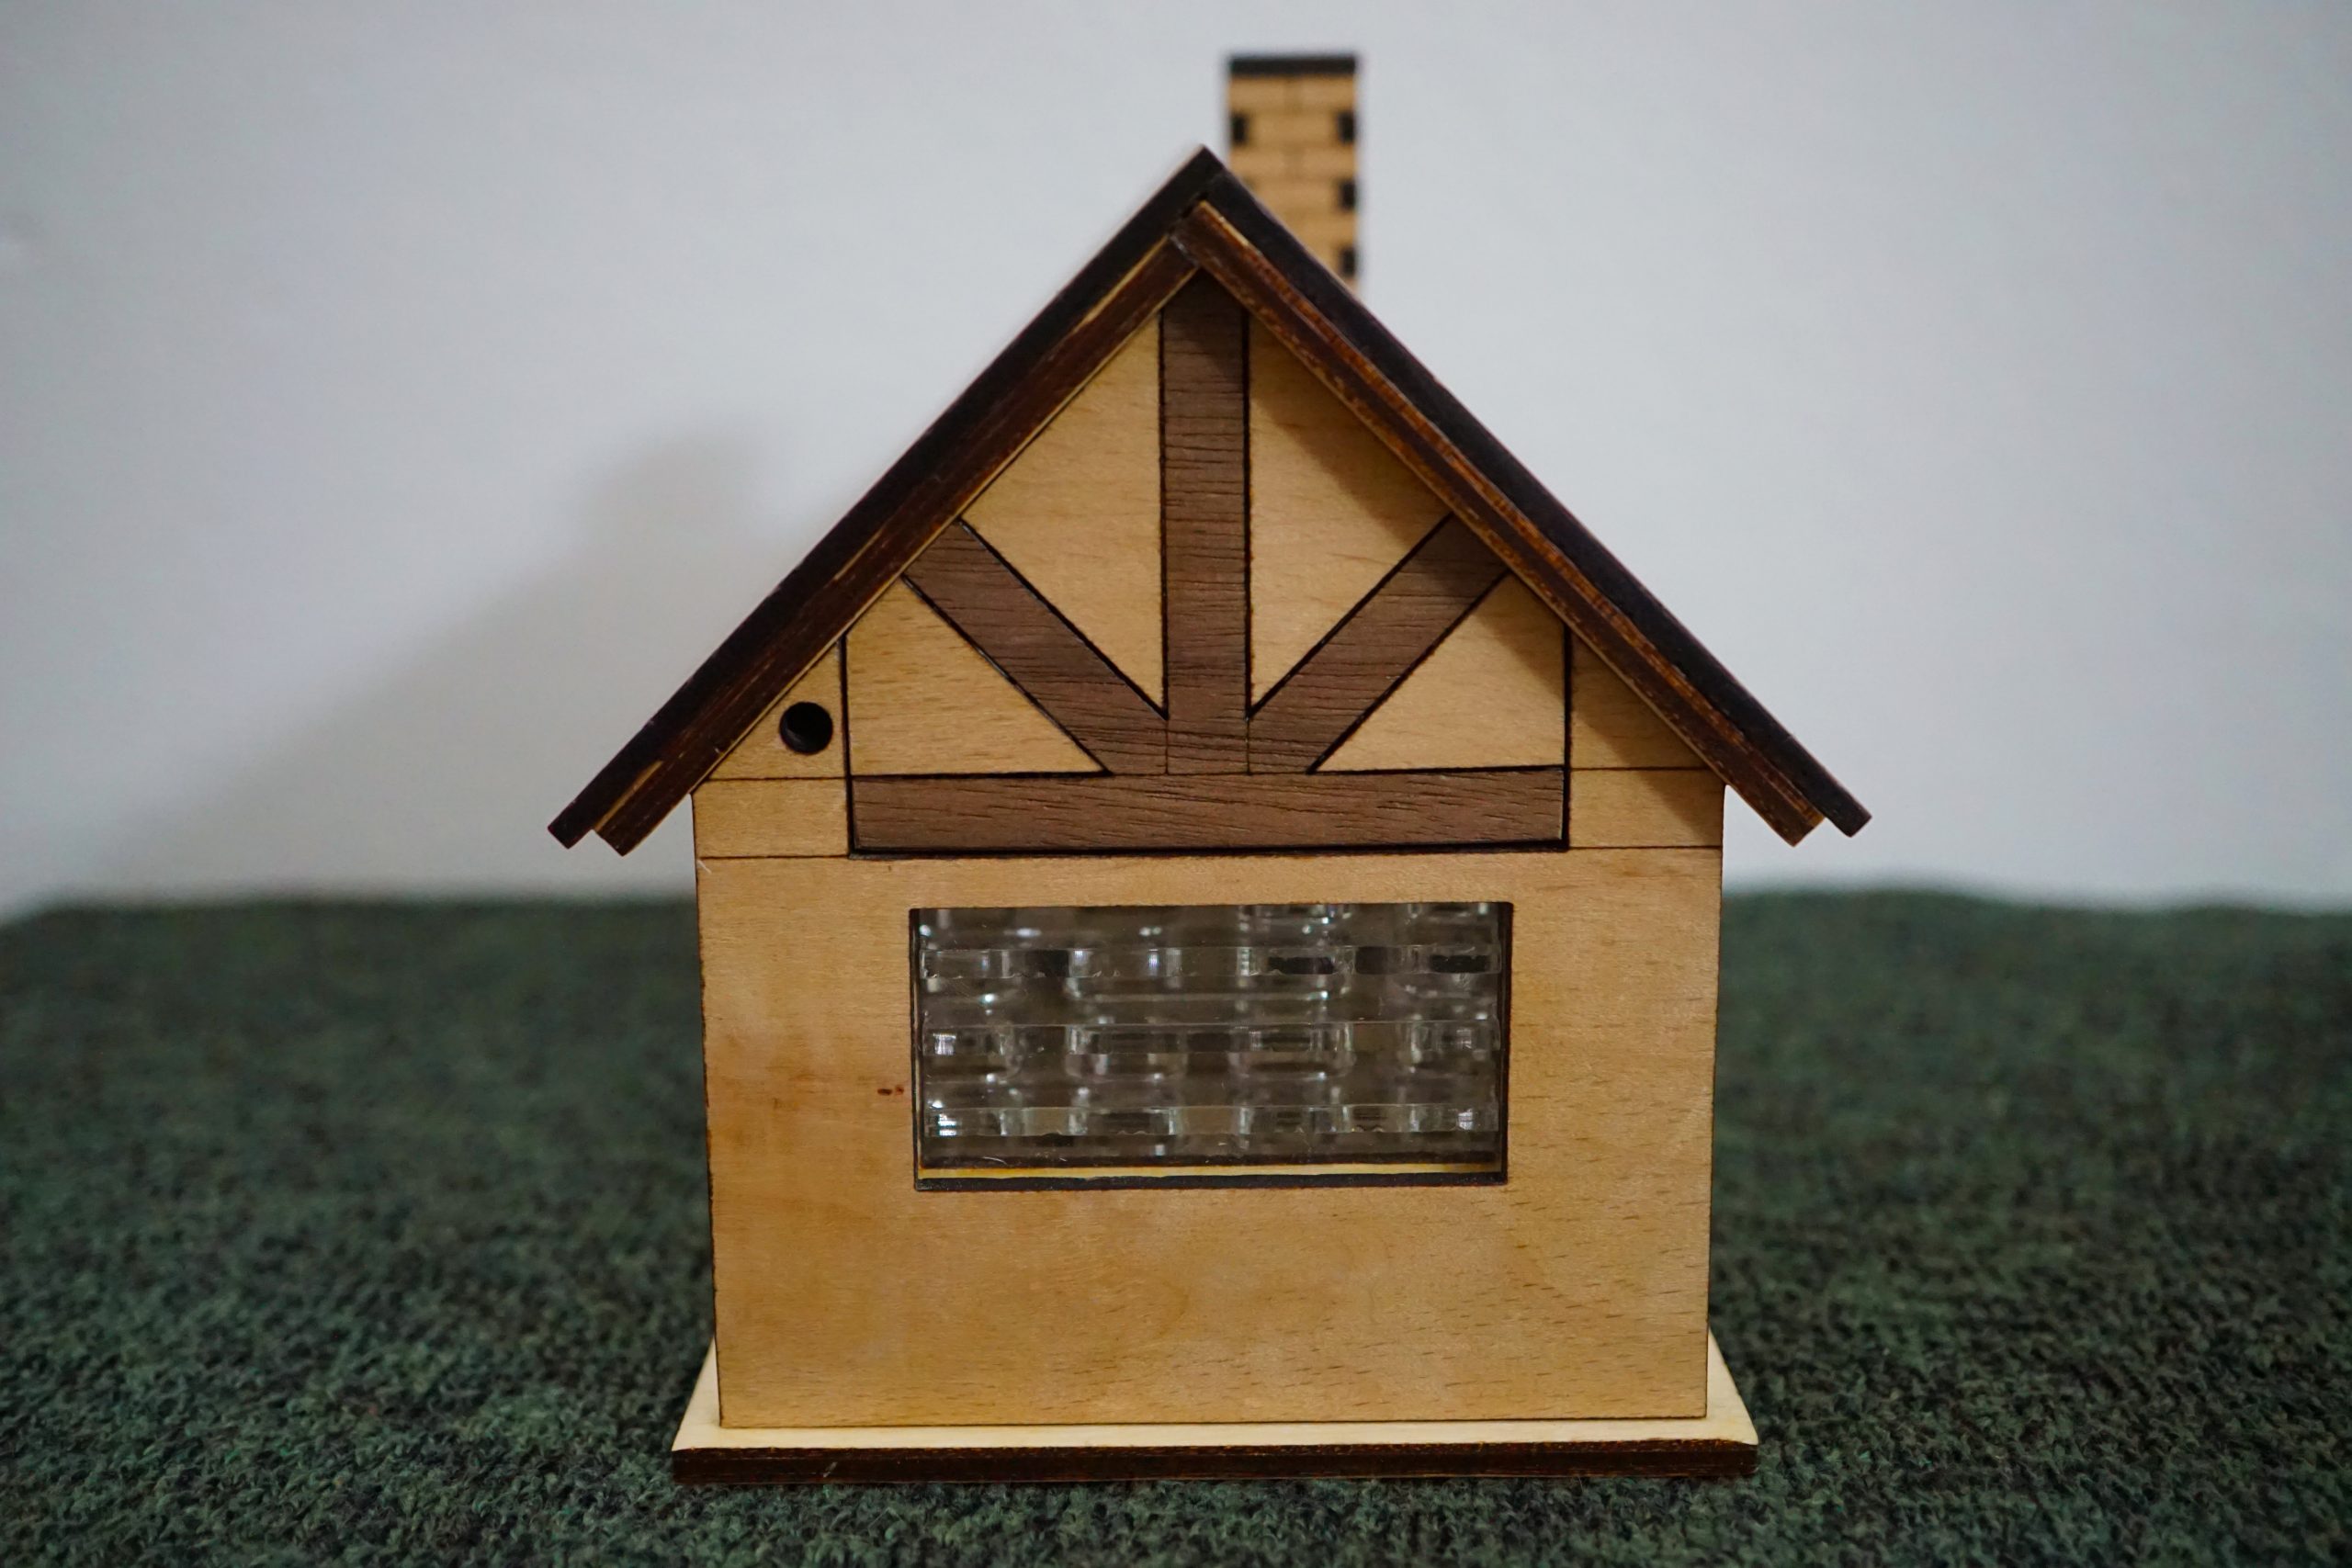
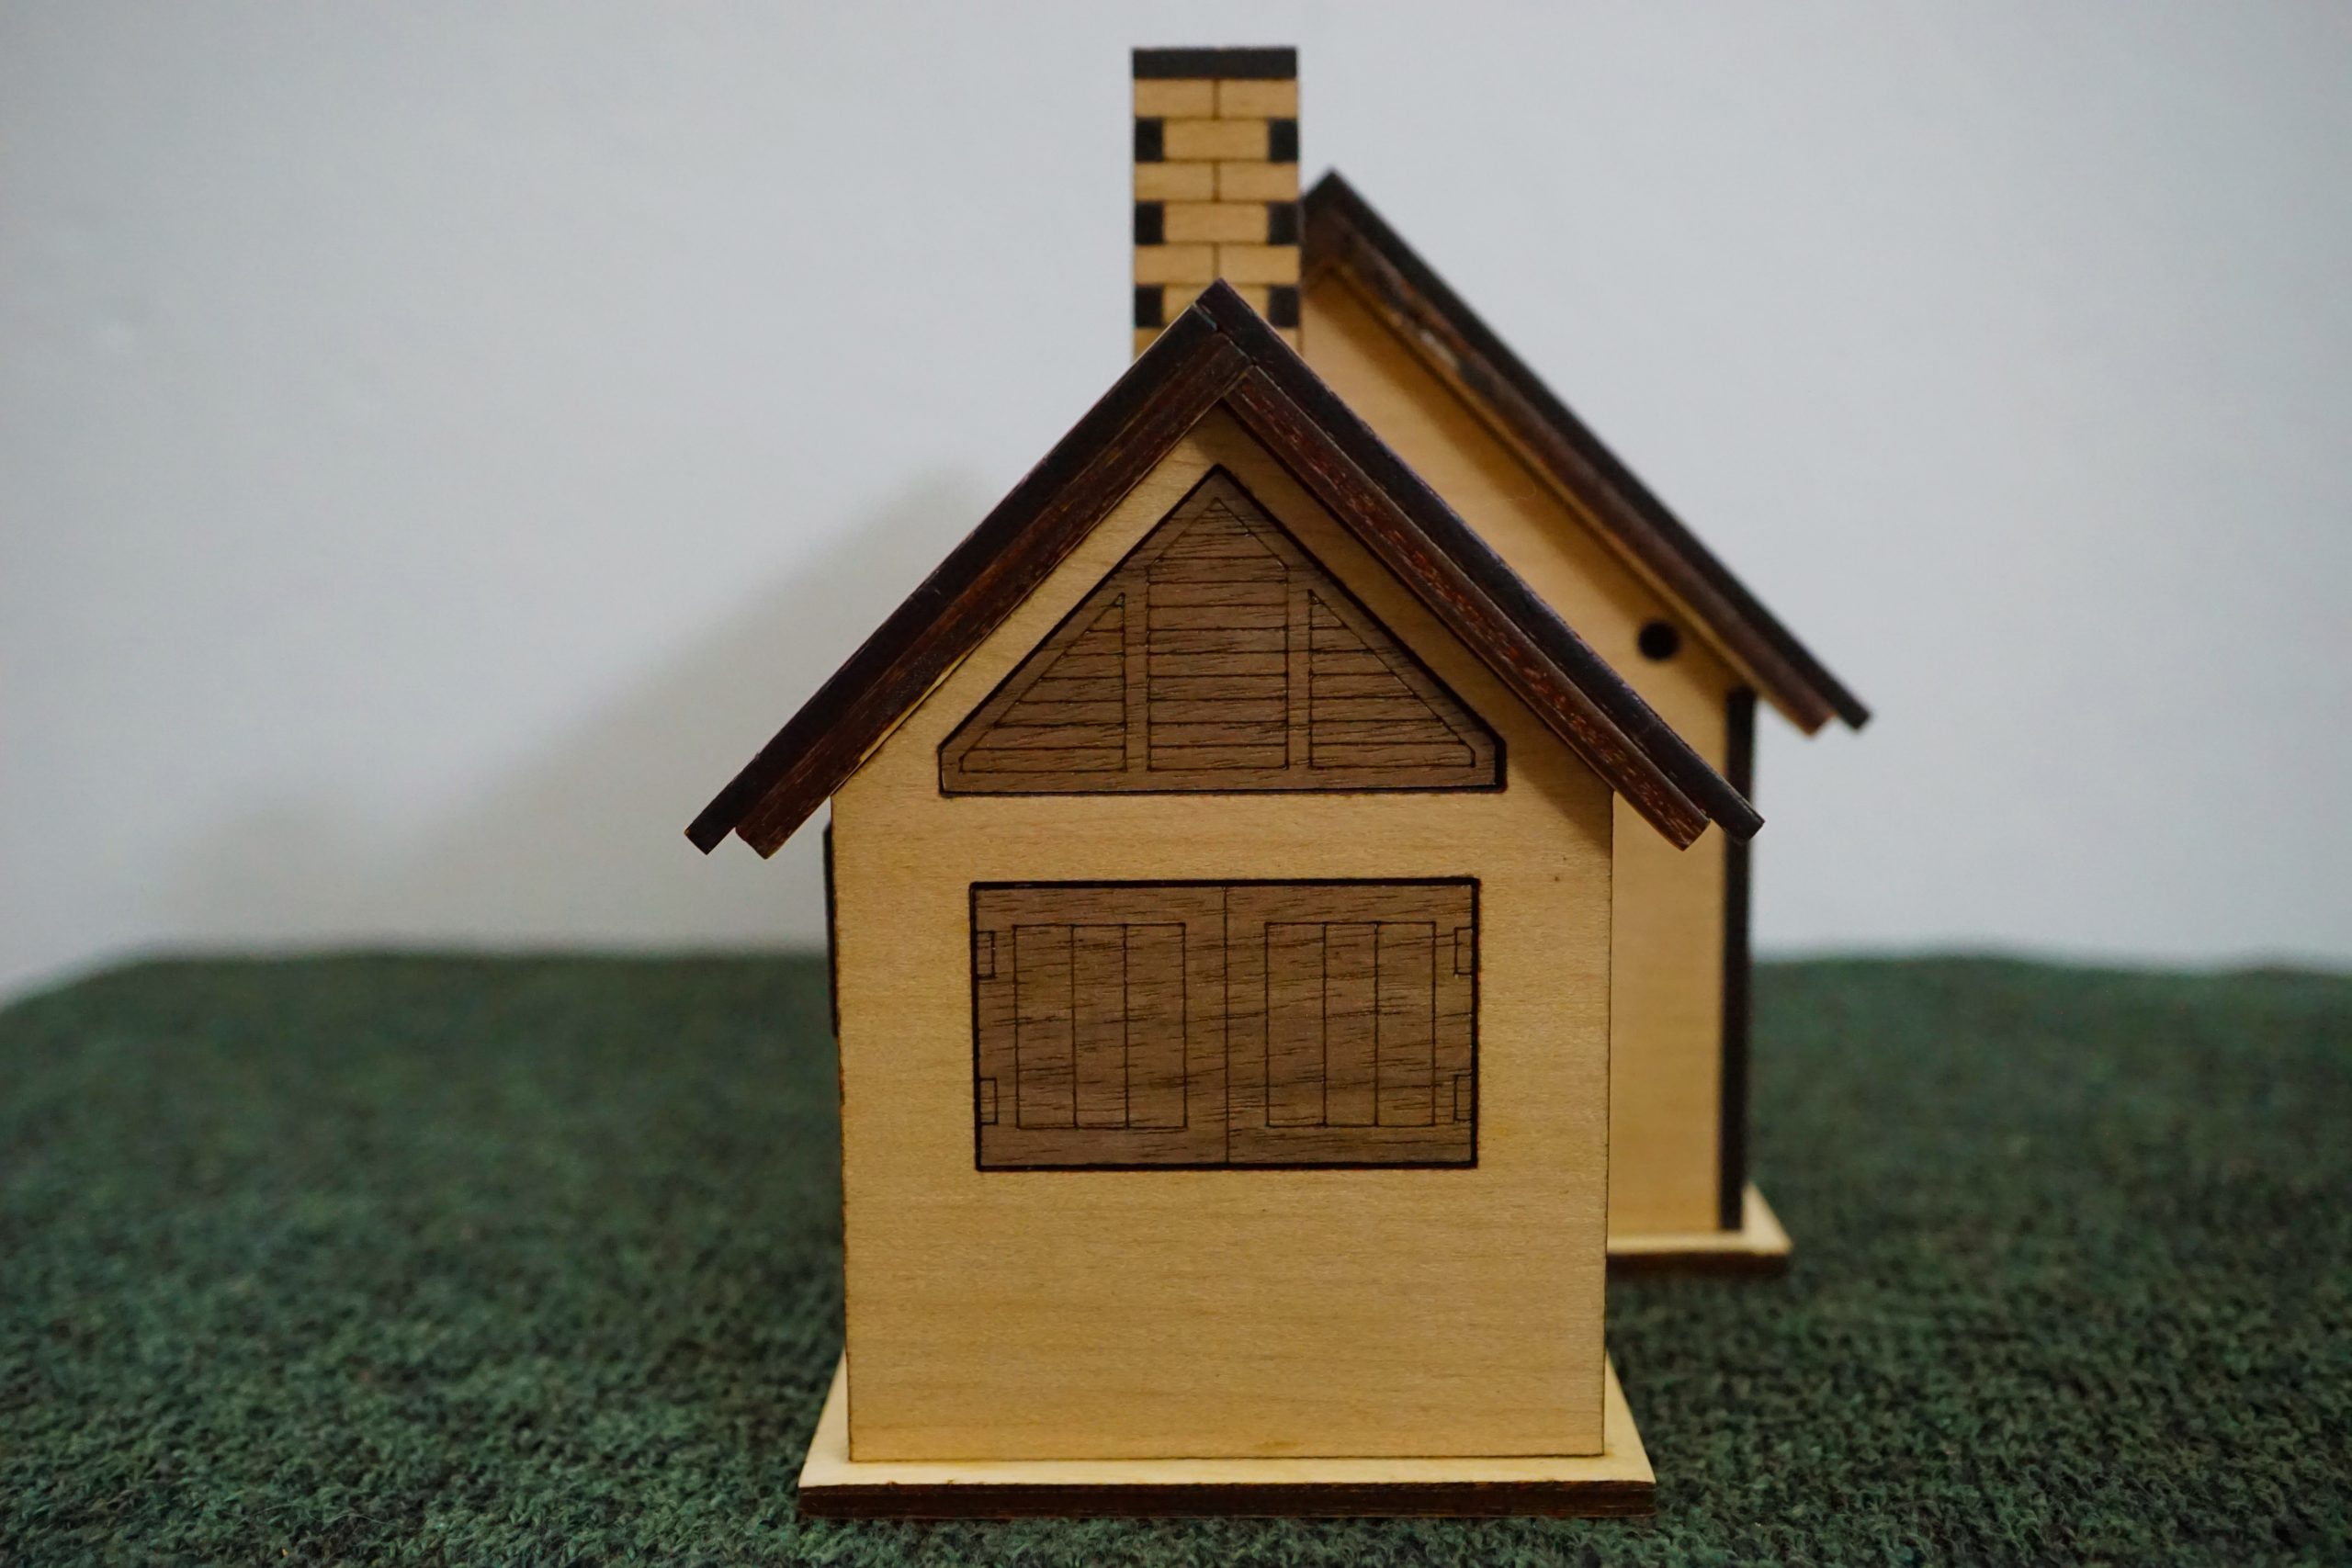
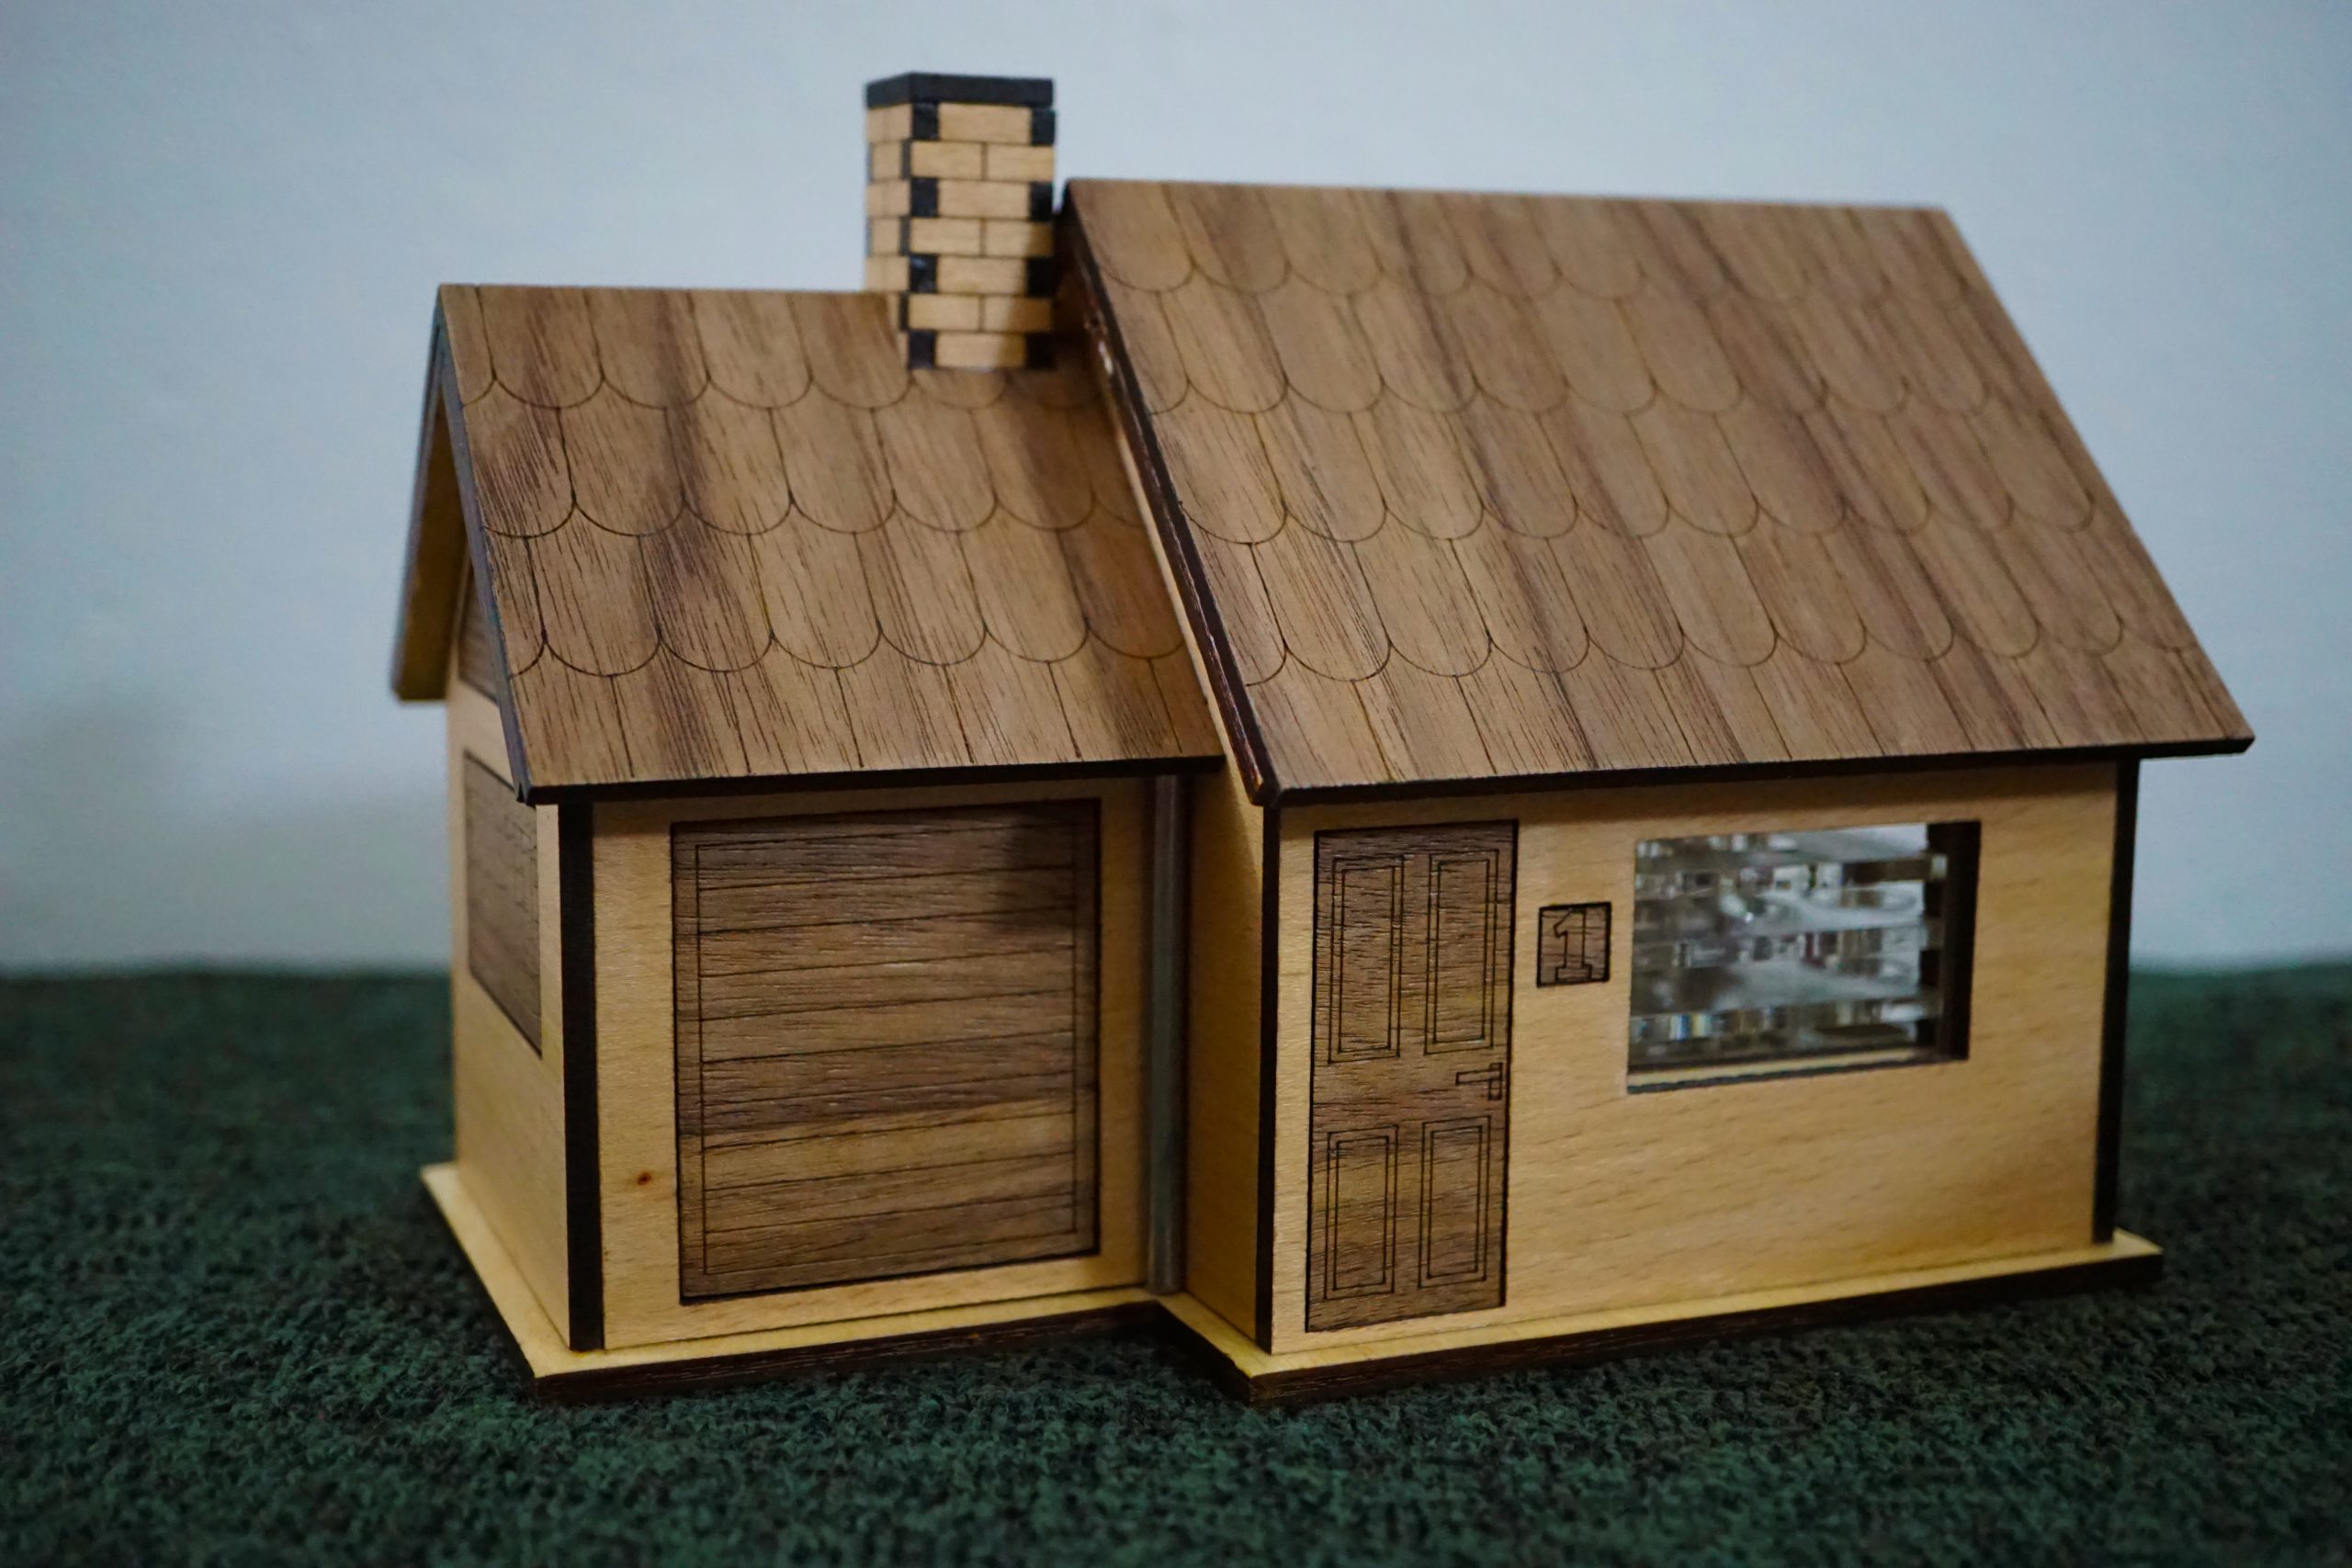
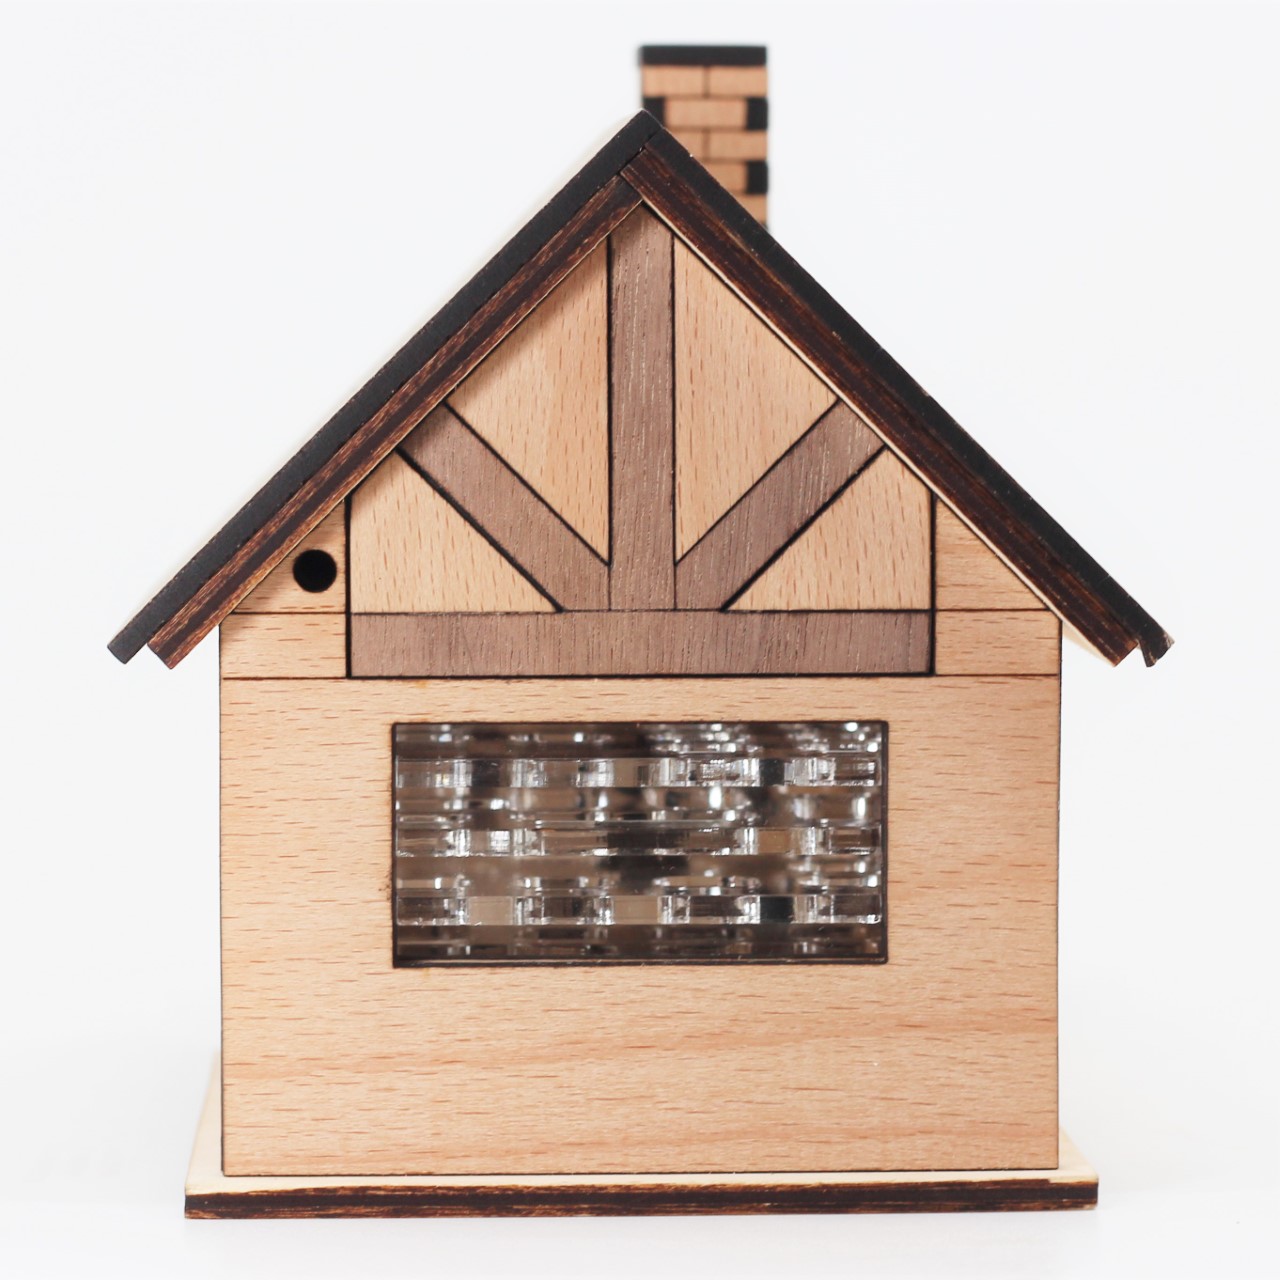
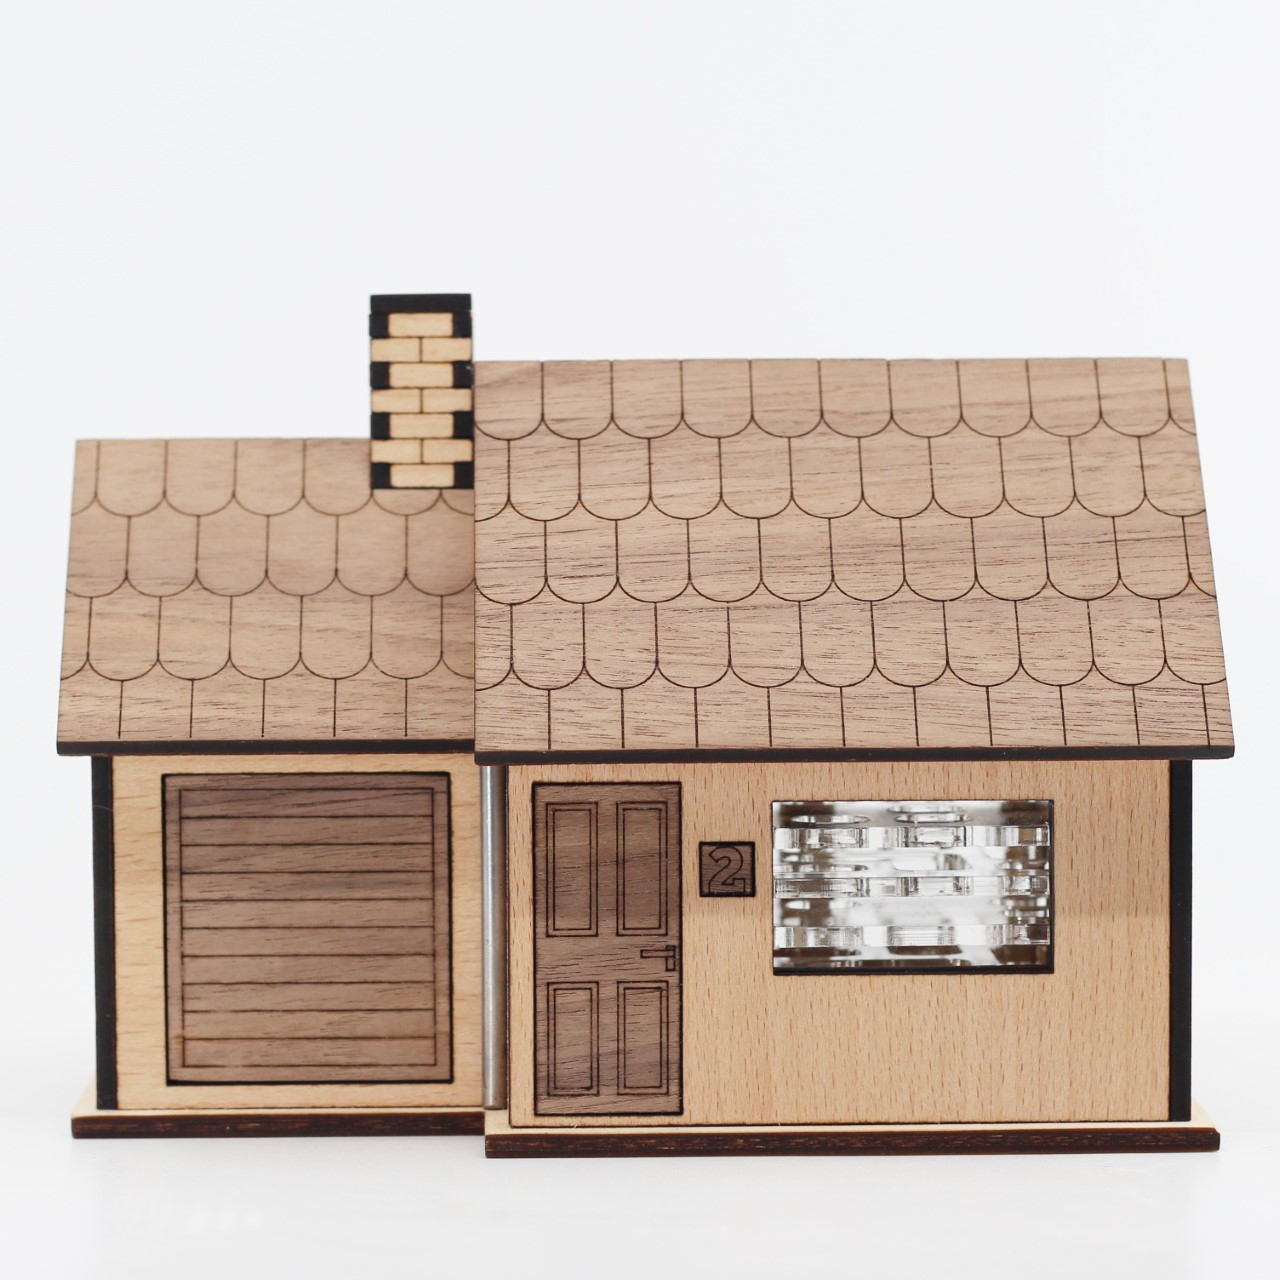
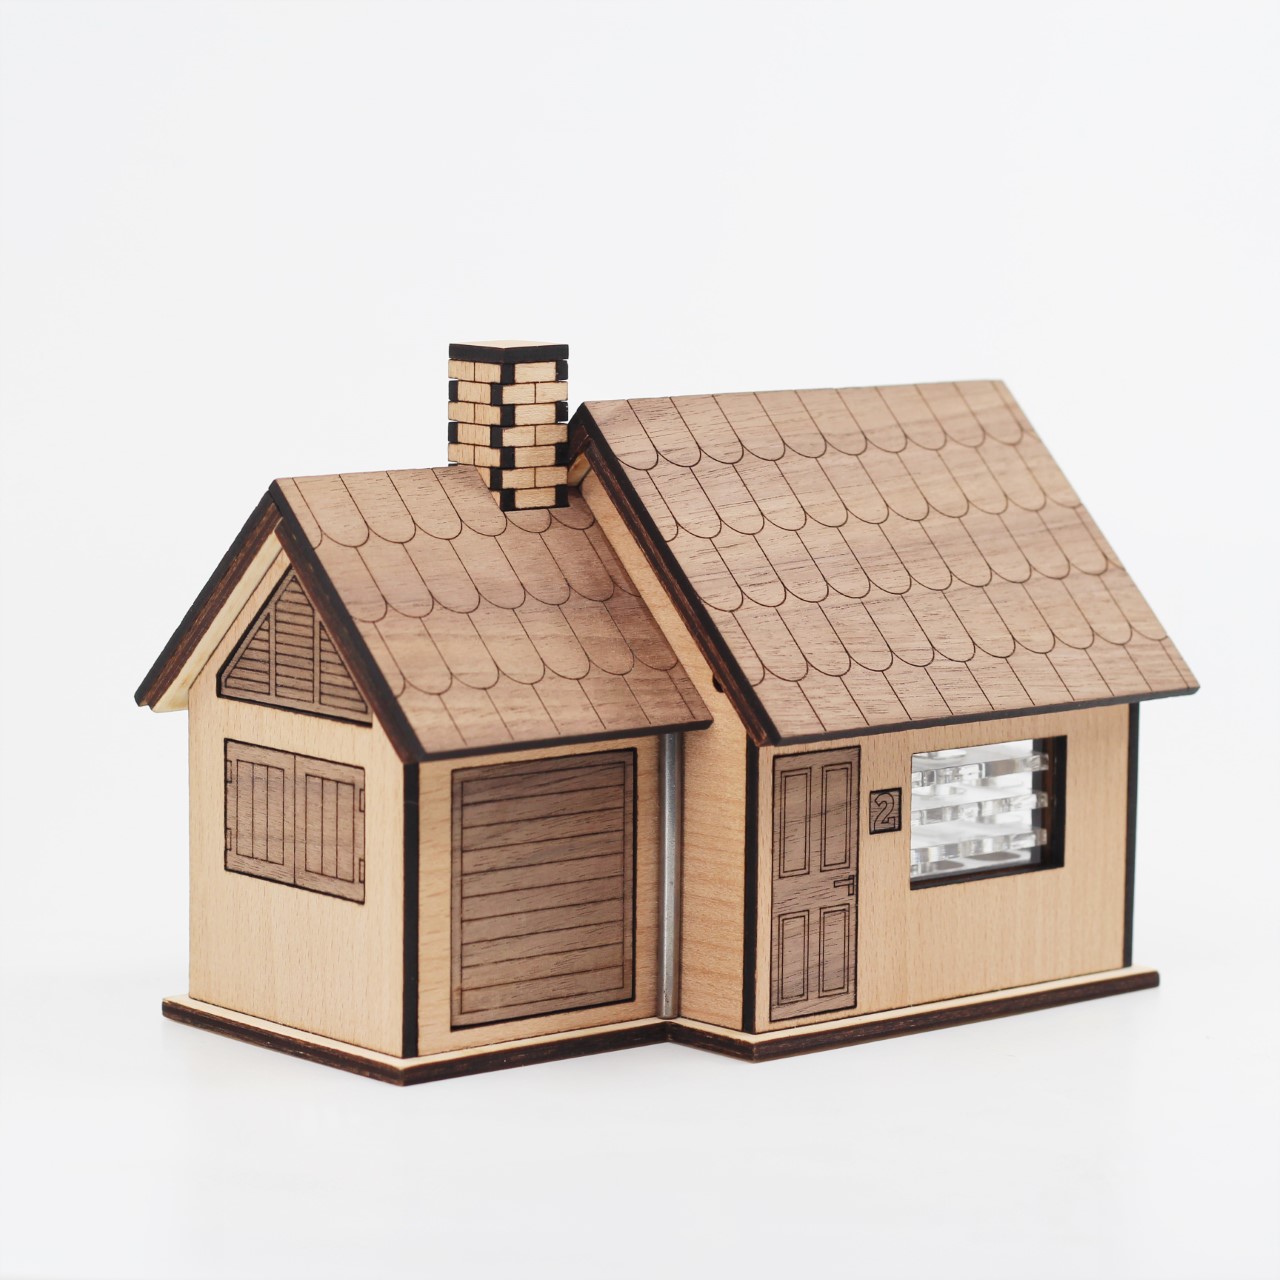
This is just a small cabin with some windows and a little garage. When you look through one of the four windows you can see something of a maze inside… But how do you get in?!
WARNING: THIS PUZZLE IS VERY DIFFICULT!
This box has been reviewed by Boxes and Booze:
https://www.boxesandbooze.com/boxesandbooze/small-cabin
It’s hard to explain this puzzle without spoiling too much about it. It is a combination between a sequential discovery puzzle and a maze. When you look through the windows you can see a plexiglas maze which covers the entire living room of the puzzle. However, there is no ball inside the maze… There also isn’t any obvious lid to open the puzzle.
When I design a new puzzle I try to keep in mind that the puzzle shouldn’t be too hard. I think someone should be able to solve a puzzle in under an hour. For this puzzle I completely failed. This puzzle is very hard to open. You could solve it in about 30 minutes if you’re very good with puzzles, or if you have luck at your side, but it could also take days.
This puzzle box will have a laser cut file in .SVG format. This way you don’t have to cut the wood yourself. I’ve also made a .pdf file which will explain how to assemble to box step by step. I used a 3D model I made to clarify the steps with pictures.
The laser cut file for cutting the wood for this puzzle box has a square around it. This will allow you to easily scale the laser cut file for any wood thickness. I used 4 mm wood for making the puzzle box, and it resulted in a box which was 177x130x115 mm.
The square around the laser cut files is 450 by 275 mm for 4 mm wood. If you want to use another wood thickness, scale the laser cut file accordingly.
There are five laser cut files. Two for the inside of the box, you can use normal wood for these. Two for the outside of the box, I used Walnut and Beech. The final file is for Perspex. Each of the laser cut files has 3 layers. one for engraving, one for cutting and one for the square around the file, which can be used for scaling.
This box uses magnets. The holes for the magnets are 4.7 mm instead of 5 mm. Because of this the magnets should be friction fit. Because the magnets have a thickness of 3 mm you can put a drop of glue on the back.
Besides the laser cut wood you will need:
- Glue
- Sanding paper
- 1 Metal pin with a diameter of 4mm and a length of 61 mm. I used a nail to make this pin.
- 24 cirkel magnets with a diameter of 5 mm and a thickness of 3mm.
- A magnetic marble with a diameter of 10mm.
If you’re planning to try this puzzle yourself you might consider to stop reading after this alinea. I’m not going to tell you how to open this puzzle, but I’m going to say a few things which might be considered tips. Be aware that you will learn all these things while making the box, so If you’re going to make this puzzle yourself you can read ahead. It’s up to you.
POTENTIAL SPOILERS BELOW!
When solving this puzzle you can seperate the maze into 3 parts. First comes a navigation part in which you will need to find out where you are, where you want to go and how to get there. The second part is more of a dexterity move. This second part gets me every time I try to open this box. Sometimes I do it in 20 seconds and other times…. Lets just say it can be frustrating. The last part of the maze is very straightforward. You just have to go from A to B.
Besides the maze there are also a few things you will have to discover about this box. For instance… what goes into the maze? There are also other things to discover. Where is the rest of the maze, and how can you see what’s happening?
If you manage to solve the maze and figure out how to open the box you will finally be able to get inside the cabin! But have you truly discovered all the secrets…
