Description
This box has been reviewed by Chris Ramsay: click here
This box has been reviewed by Mr puzzle: click here
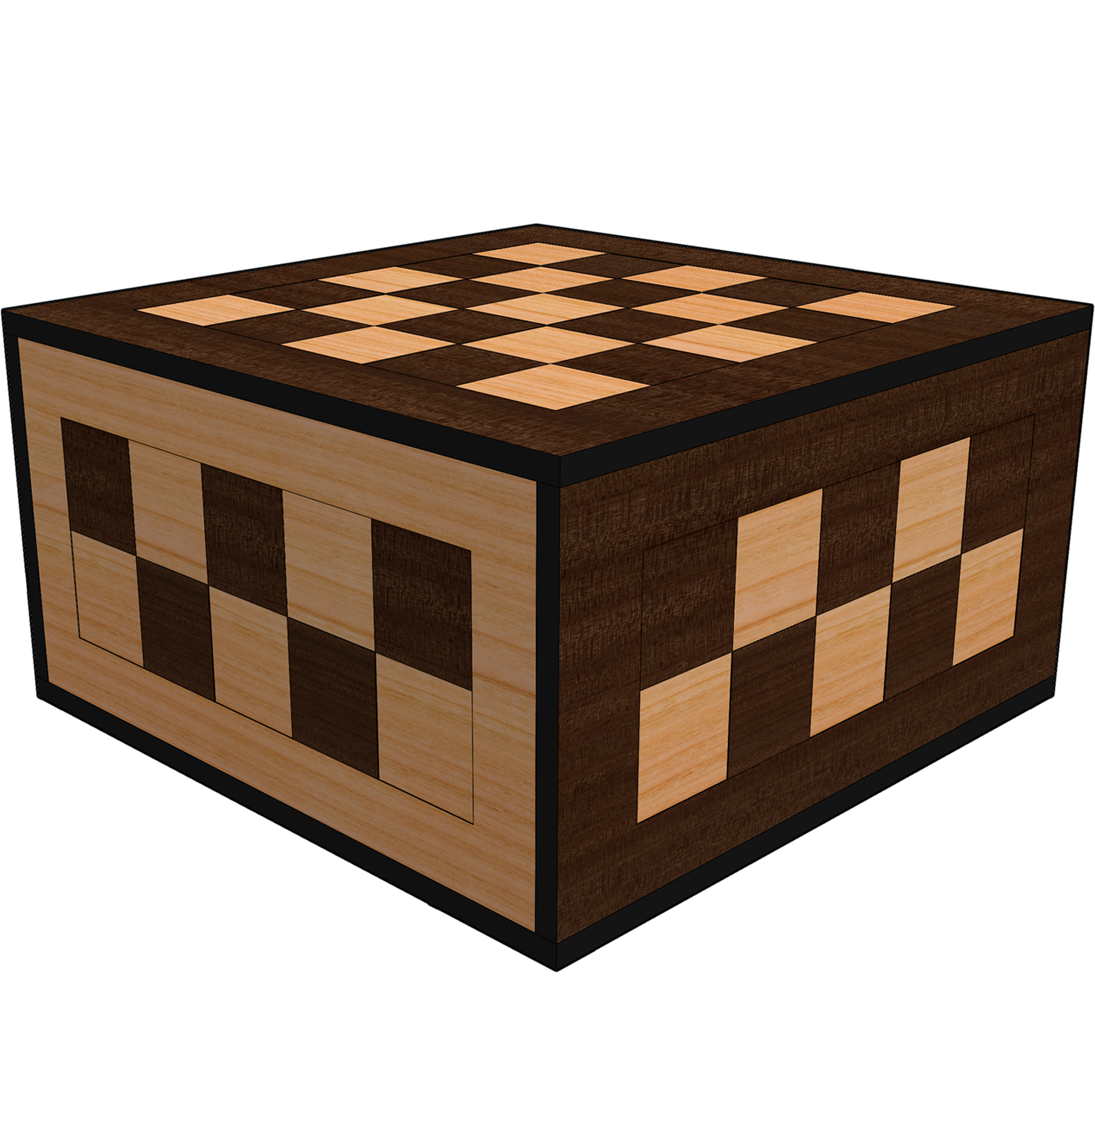
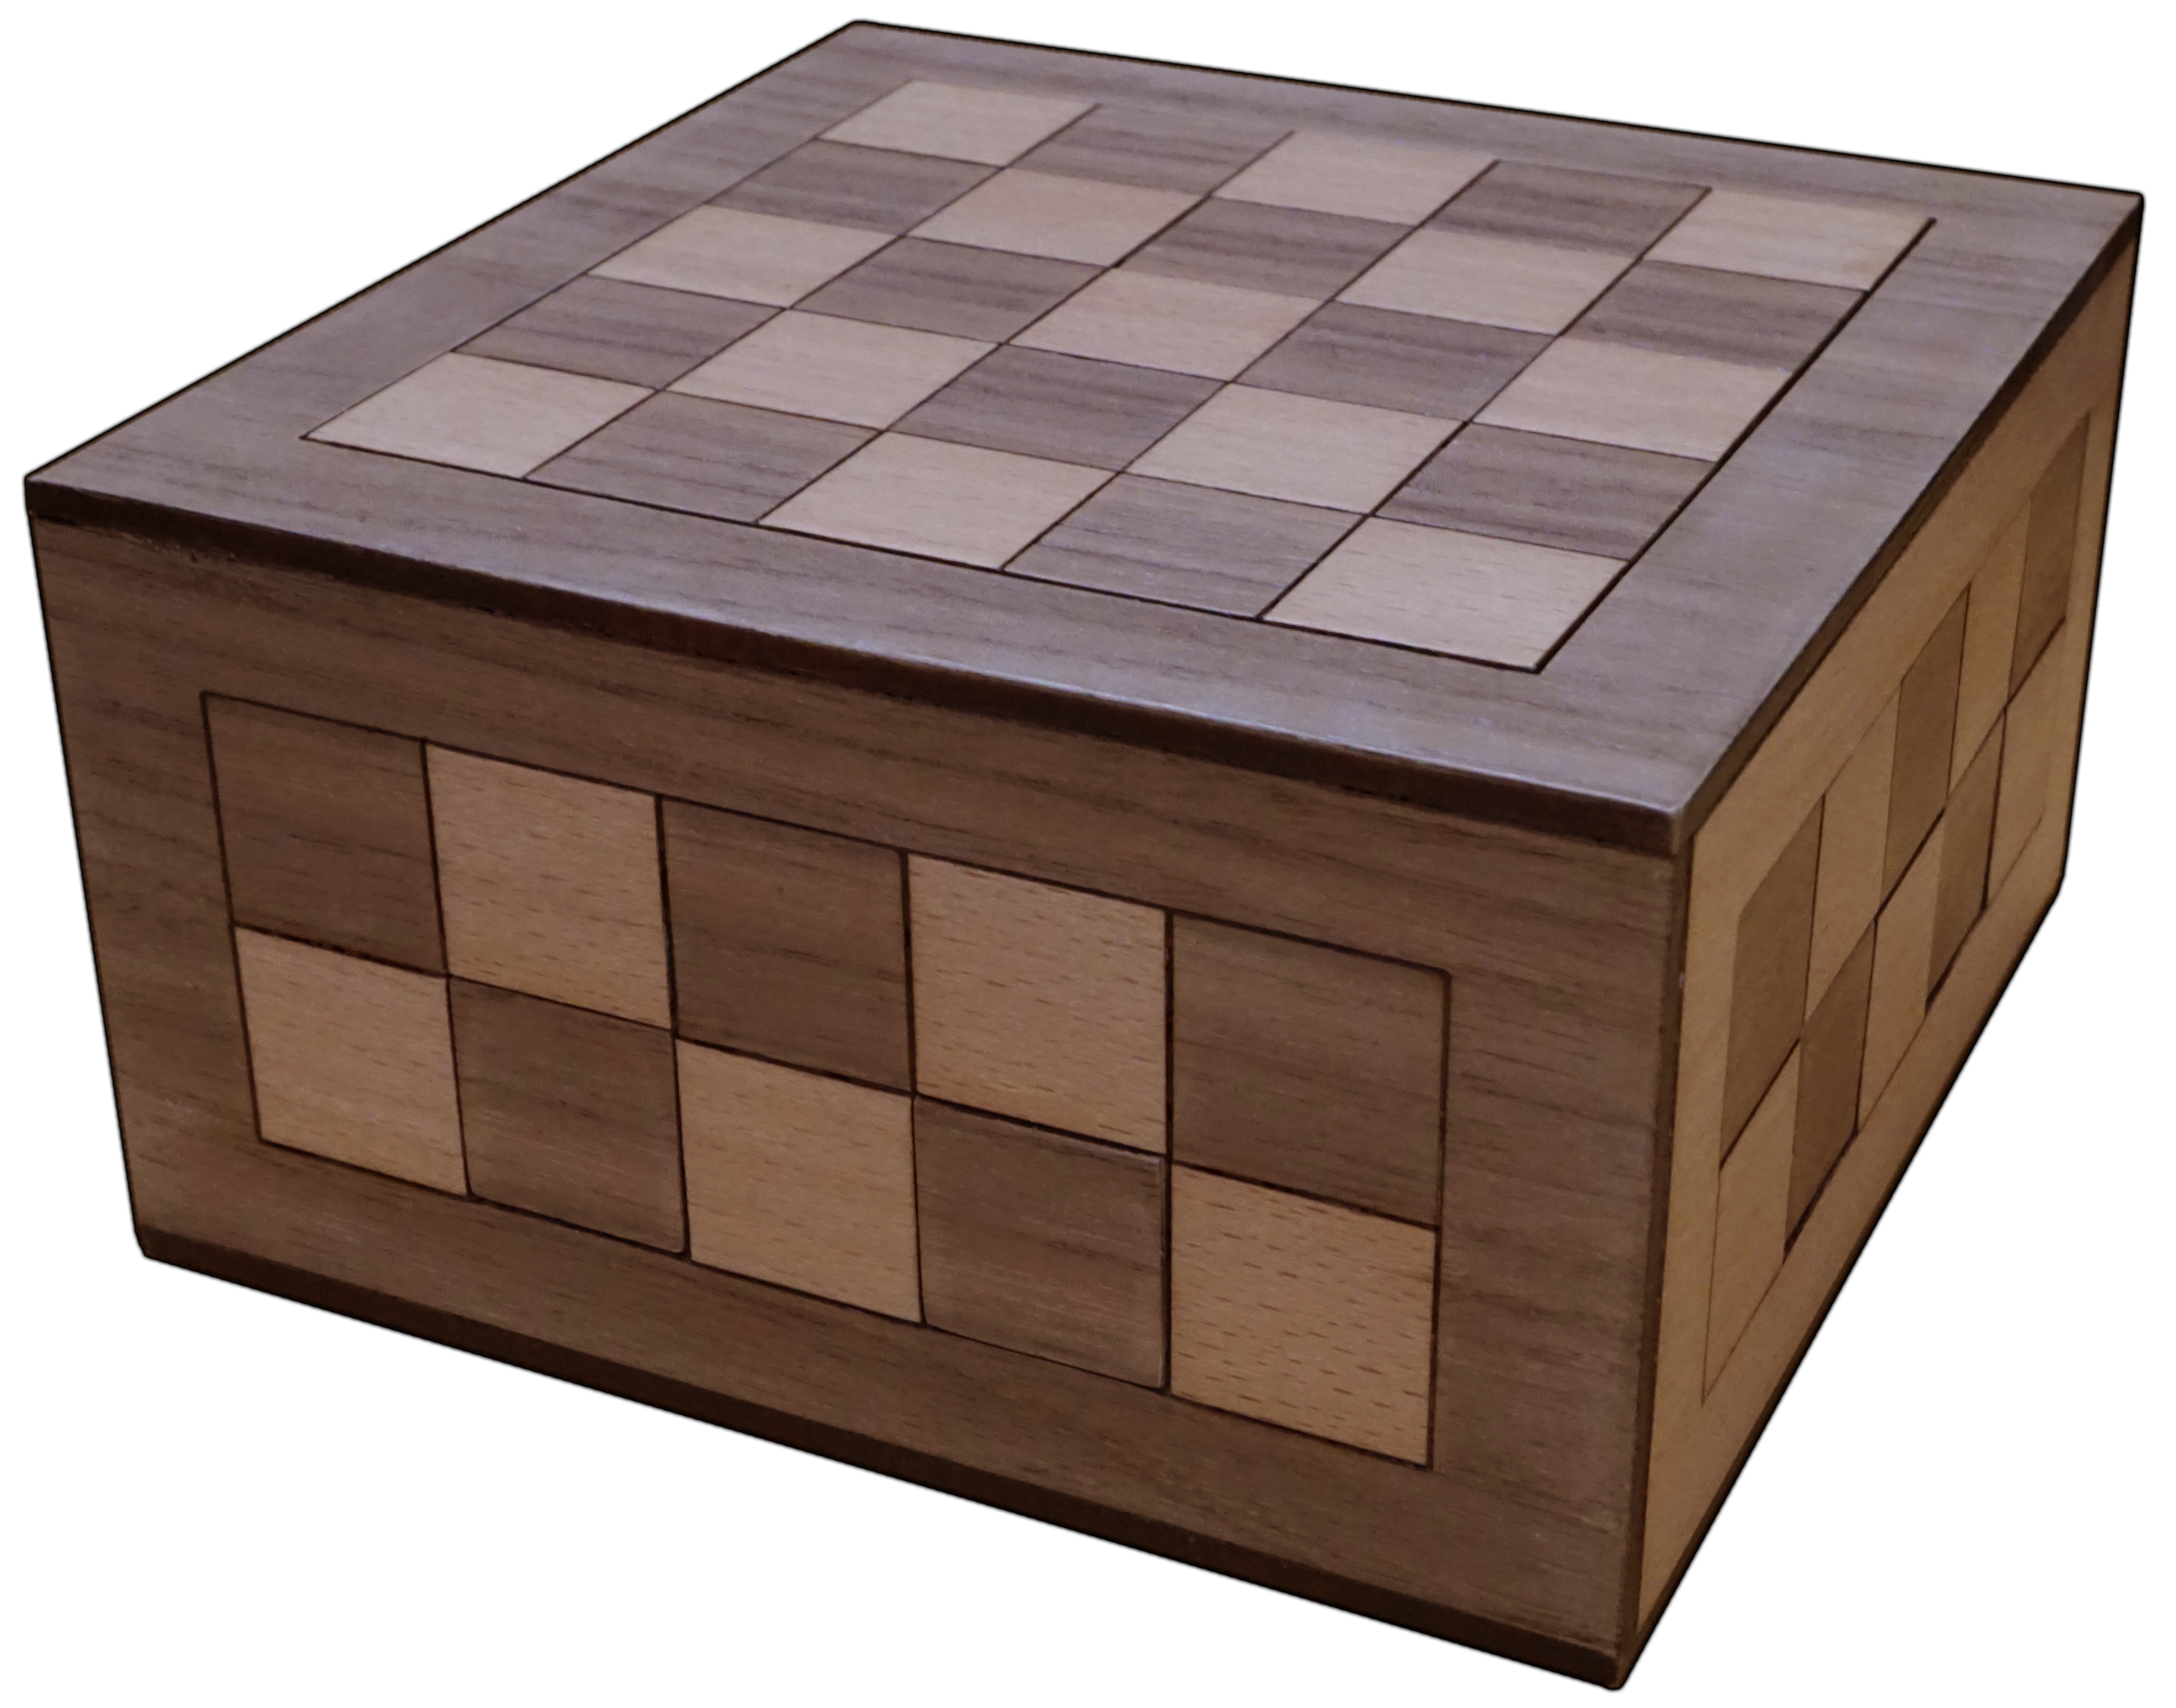
A simple looking puzzle box with a Chess pattern on the sides. This box takes 30 steps to open. It also has an extra secret, but you’ll have to find that out yourself… The box is 132 x 72 x 72 mm, but you can scale it to a different size.
This puzzle box will have a laser cut file in .SVG format. This way you don’t have to cut the wood yourself. I’ve also made a .pdf file which will explain how to assemble to box step by step. I used a 3D model I made to clarify the steps with pictures.
The laser cut file for cutting the wood for this puzzle box has a square around it. This will allow you to easily scale the laser cut file for any wood thickness. I used 4 mm wood for making my puzzle box, and it resulted in a box which was 13.2 x 13.2 x 7.2 cm.
The square around the laser cut files is 450 by 275 mm for 4 mm wood. If you want to use an other wood thickness, scale the laser cut file accordingly.
There are four laser cut files. Two for normal wood. These two will use the entire sheet of wood. The laser cut files will have up to four different layers. One for the square to scale the file, One for cutting, One for engraving and a last one for cutting the holes for the magnets. (these holes have a diameter of 4.7 mm. This way the magnets (of 5 mm) will be friction fit. If you scale the building plan, or if you want to use different size magnets you should change the size of these holes.)
The other two files are for the wood which will be on the outside of the box. I used walnut and Beech wood. Both will only use 1/3 of the sheet of wood.
Besides the laser cut wood you will need:
- Glue.
- Sanding paper.
- 4 metal pins with a diameter of 4 mm and a length of 11 mm.
- 1 metal pin with a diameter of 4 mm and a length of 70 mm.
- 18 cirkel magnets with a diameter of 5 mm and a thickness of 4 mm. (The magnets I used had a thickness of 3 mm, which will work as well.)
I made the metal pins by cutting up a nail with the right diameter.
I’ve always liked the idea of buttons for puzzle boxes. I’ve made multiple boxes with buttons which stick out, but I’ve never been able to make a box the way I imagined the buttons. A few weeks before designing this puzzle box I’ve bought a laser cutter myself. Because I can now test designs more easy I started working on a puzzle I’ve been thinking about for several years. However, the puzzle turned out to be way to complex to start with. Because of that I started making this box.
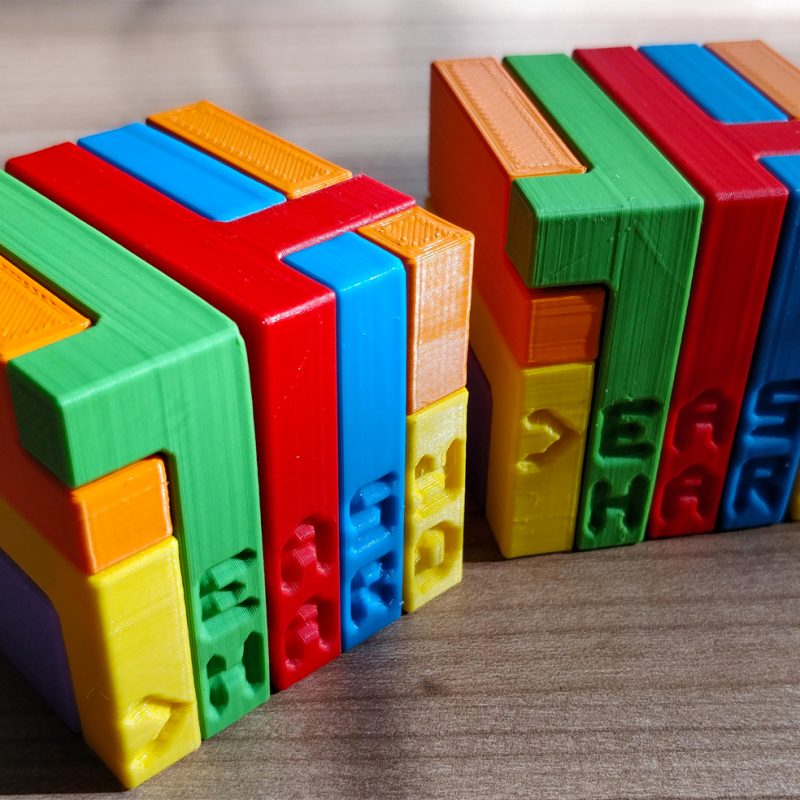
This puzzle box is basically a simple version of the complex box I’ve been thinking about. However, don’t let this fool you! This box isn’t easy to open… I’ve added engravings on the sliders of this puzzle to give some clues about how to open this puzzle.
I’ve tested multiple things with this puzzle box. The most important part are the way the buttons of this box are hidden in de design. I also wanted to hide the lid in such a way it feels like there isn’t a lid. I’m really happy with how this box turned out, and I’m now working on the extra complex version I’ve been wanting to make for years.
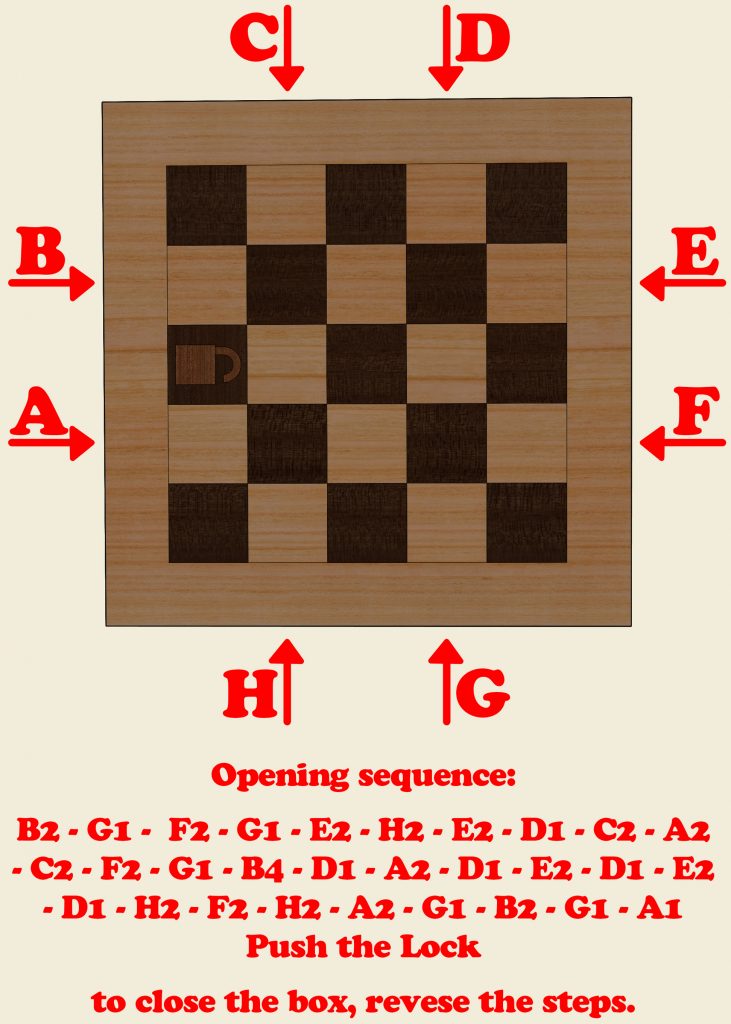
I’ve posted the opening solution below. Stop scrolling if you don’t want to know how to open this box!
